Home
JAQForum Ver 24.01
Log In or Join  
Active Topics
Local Time 20:05 28 Sep 2026 Privacy Policy
Jump to

Notice. New forum software under development. It's going to miss a few functions and look a bit ugly for a while, but I'm working on it full time now as the old forum was too unstable. Couple days, all good. If you notice any issues, please contact me.

Forum Index : Microcontroller and PC projects : Playing with Tinkercad for box design

Author Message
Mixtel90

Guru

Joined: 05/10/2019
Location: United Kingdom
Posts: 9151
Posted: 04:28pm 26 Sep 2026
Copy link to clipboard 
Print this post

I thought I'd have a go as I now have a mini 3D printer.
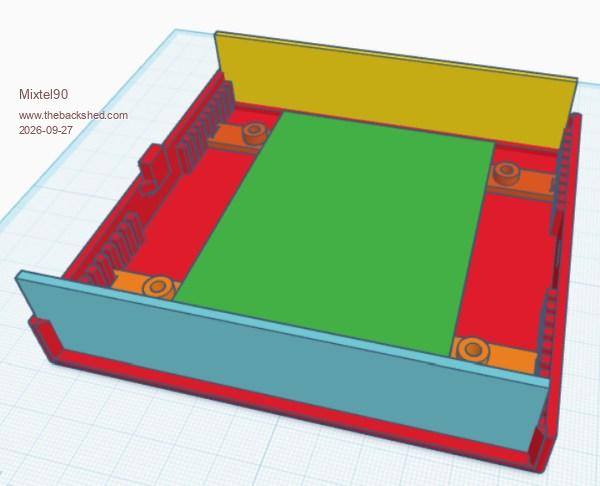
Absolute max size 120mm x 120mm x 120mm. The one shown here is 118x114x30 when fully assembled and will just take a full 100x100 pcb.


PCB supports are not moulded in and are printed separately so you have a free choice of where the fixings are. Little vertical supports on the sides will probably be enough to hold them in place, or there's always glue. :) The supports can also hold vertical PCBs or separators to keep the mains stuff away from the low voltage stuff. Due to the maximum bed size of the printer and the fact that I want a 100mm wide PCB screw case fixings aren't great (I tried it) so I'm trying a clip (which I'm working on). Note that the top and bottom of the case are identical. The front and rear panels keep them aligned and the clips hold the top on. The slots for the panels are 2mm wide so work nicely with PCB material.

I need to be very patient with this little printer. It's old and slow (like me). :)

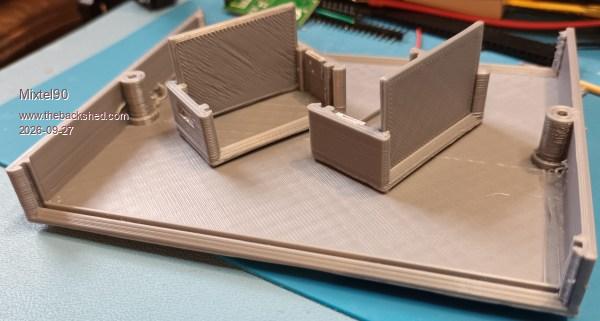
Test pieces


The little case hadn't enough "give" for the clips and they broke off. PLA is quite stiff.
Mick

Zilog Inside! nascom.info for Nascom & Gemini
 
PeteCotton

Guru

Joined: 13/08/2020
Location: Canada
Posts: 657
Posted: 03:14pm 27 Sep 2026
Copy link to clipboard 
Print this post

Very nice Mick. Designing new cases is a very rewarding experience. I look forward to seeing your end results.
 
lizby
Guru

Joined: 17/05/2016
Location: United States
Posts: 3883
Posted: 03:58pm 27 Sep 2026
Copy link to clipboard 
Print this post

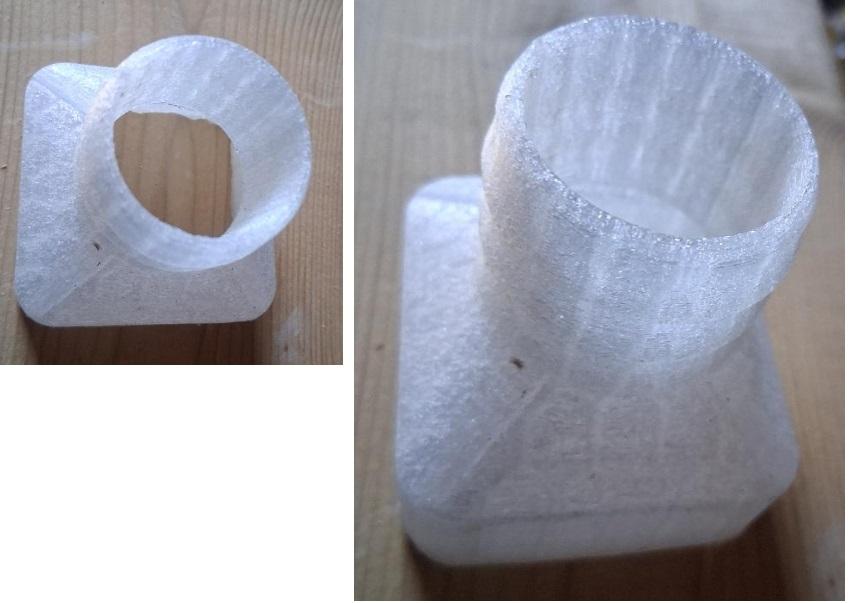
How long did it take to print, Mick? This 50mm x 50mm to 37mm round water diverter connector I had AI design for me took 2+ hours to print at the local library (costing me $2CDN).


Your base looks like it might take 4 hours (not that that matters to me--I could drop it off or maybe even just email them a file).

I could use a box that comfortably takes a 100mm x 100mm pcb. I'm not yet sure of the height.

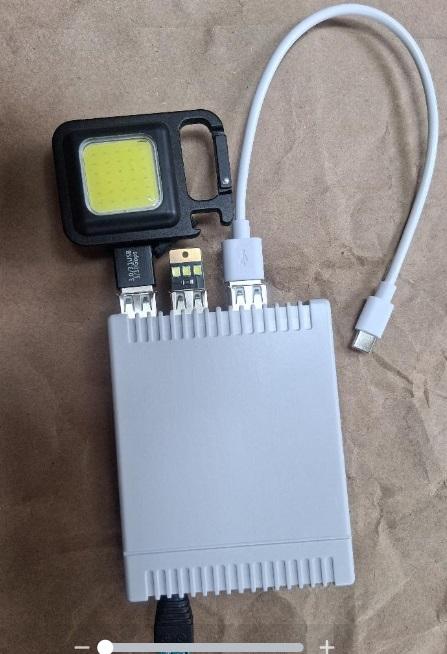
This is the Aliex box you recommended (very nice), but I'll need something bigger:


PicoMite, Armmite F4, SensorKits, MMBasic Hardware, Games, etc. on FOTS
 
Mixtel90

Guru

Joined: 05/10/2019
Location: United Kingdom
Posts: 9151
Posted: 04:48pm 27 Sep 2026
Copy link to clipboard 
Print this post

I can't honestly remember. I think the big case half was 3-4hrs and the little prints (one half + one panel each) were about 1.5hrs each. I wasn't really checking. The big one has a few errors. lol

That little AE case looks good. :)

I'm currently playing with a case design for a bench PSU using a 12V 5A module and a SK120X buck boost controller with IR control. It's looking promising. I already have a SK120X and, with the remote, it's quite nice to use.
Mick

Zilog Inside! nascom.info for Nascom & Gemini
 
Print this page


To reply to this topic, you need to log in.

The Back Shed's forum code is written, and hosted, in Australia.
© JAQ Software 2026